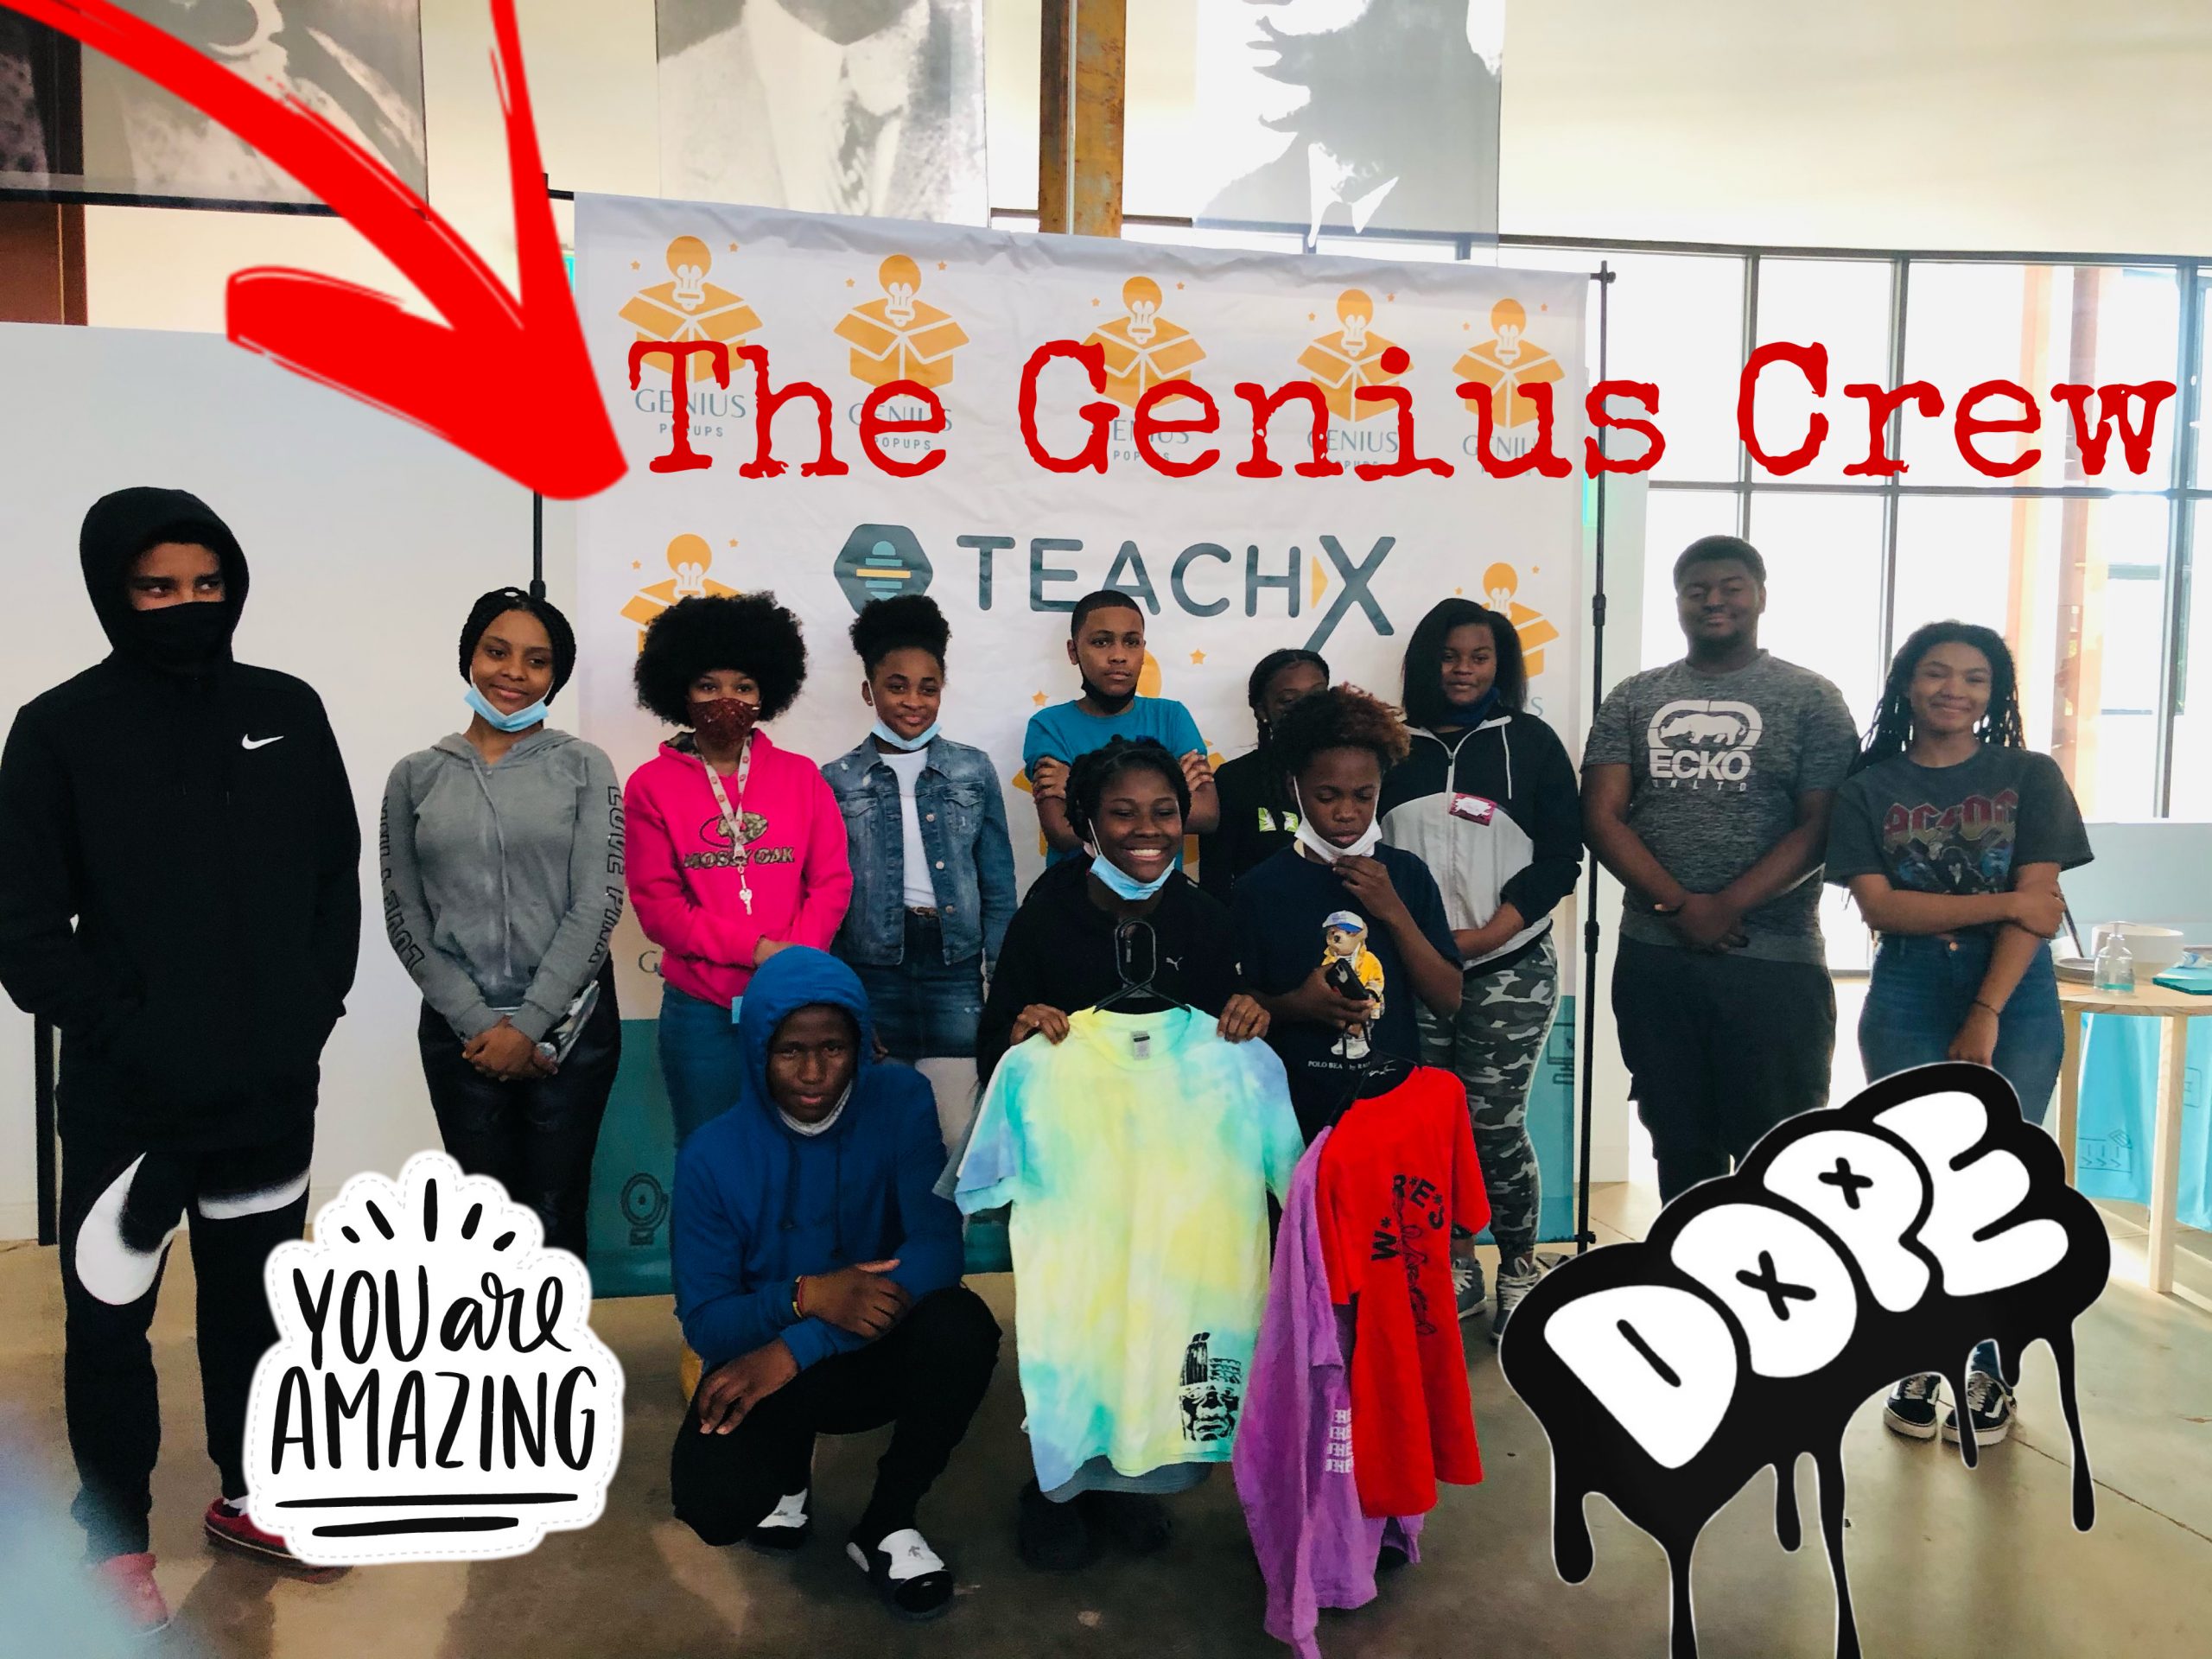
Student Showcase!!
We were so excited to partner with TeachX and their Genius Popup program! We offered a Character Design for Animation class. Our students met once a week for four weeks to develop and illustrate a new character! This was the final showcase where family members were able to come and view student work. It’s truly incredible what these children were able to create in four weeks.

Parents watching the presentation.
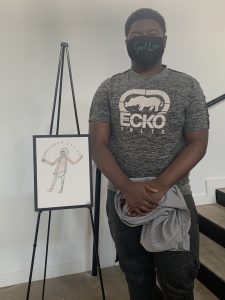
These were some of the students from the Character Design for Animation class:
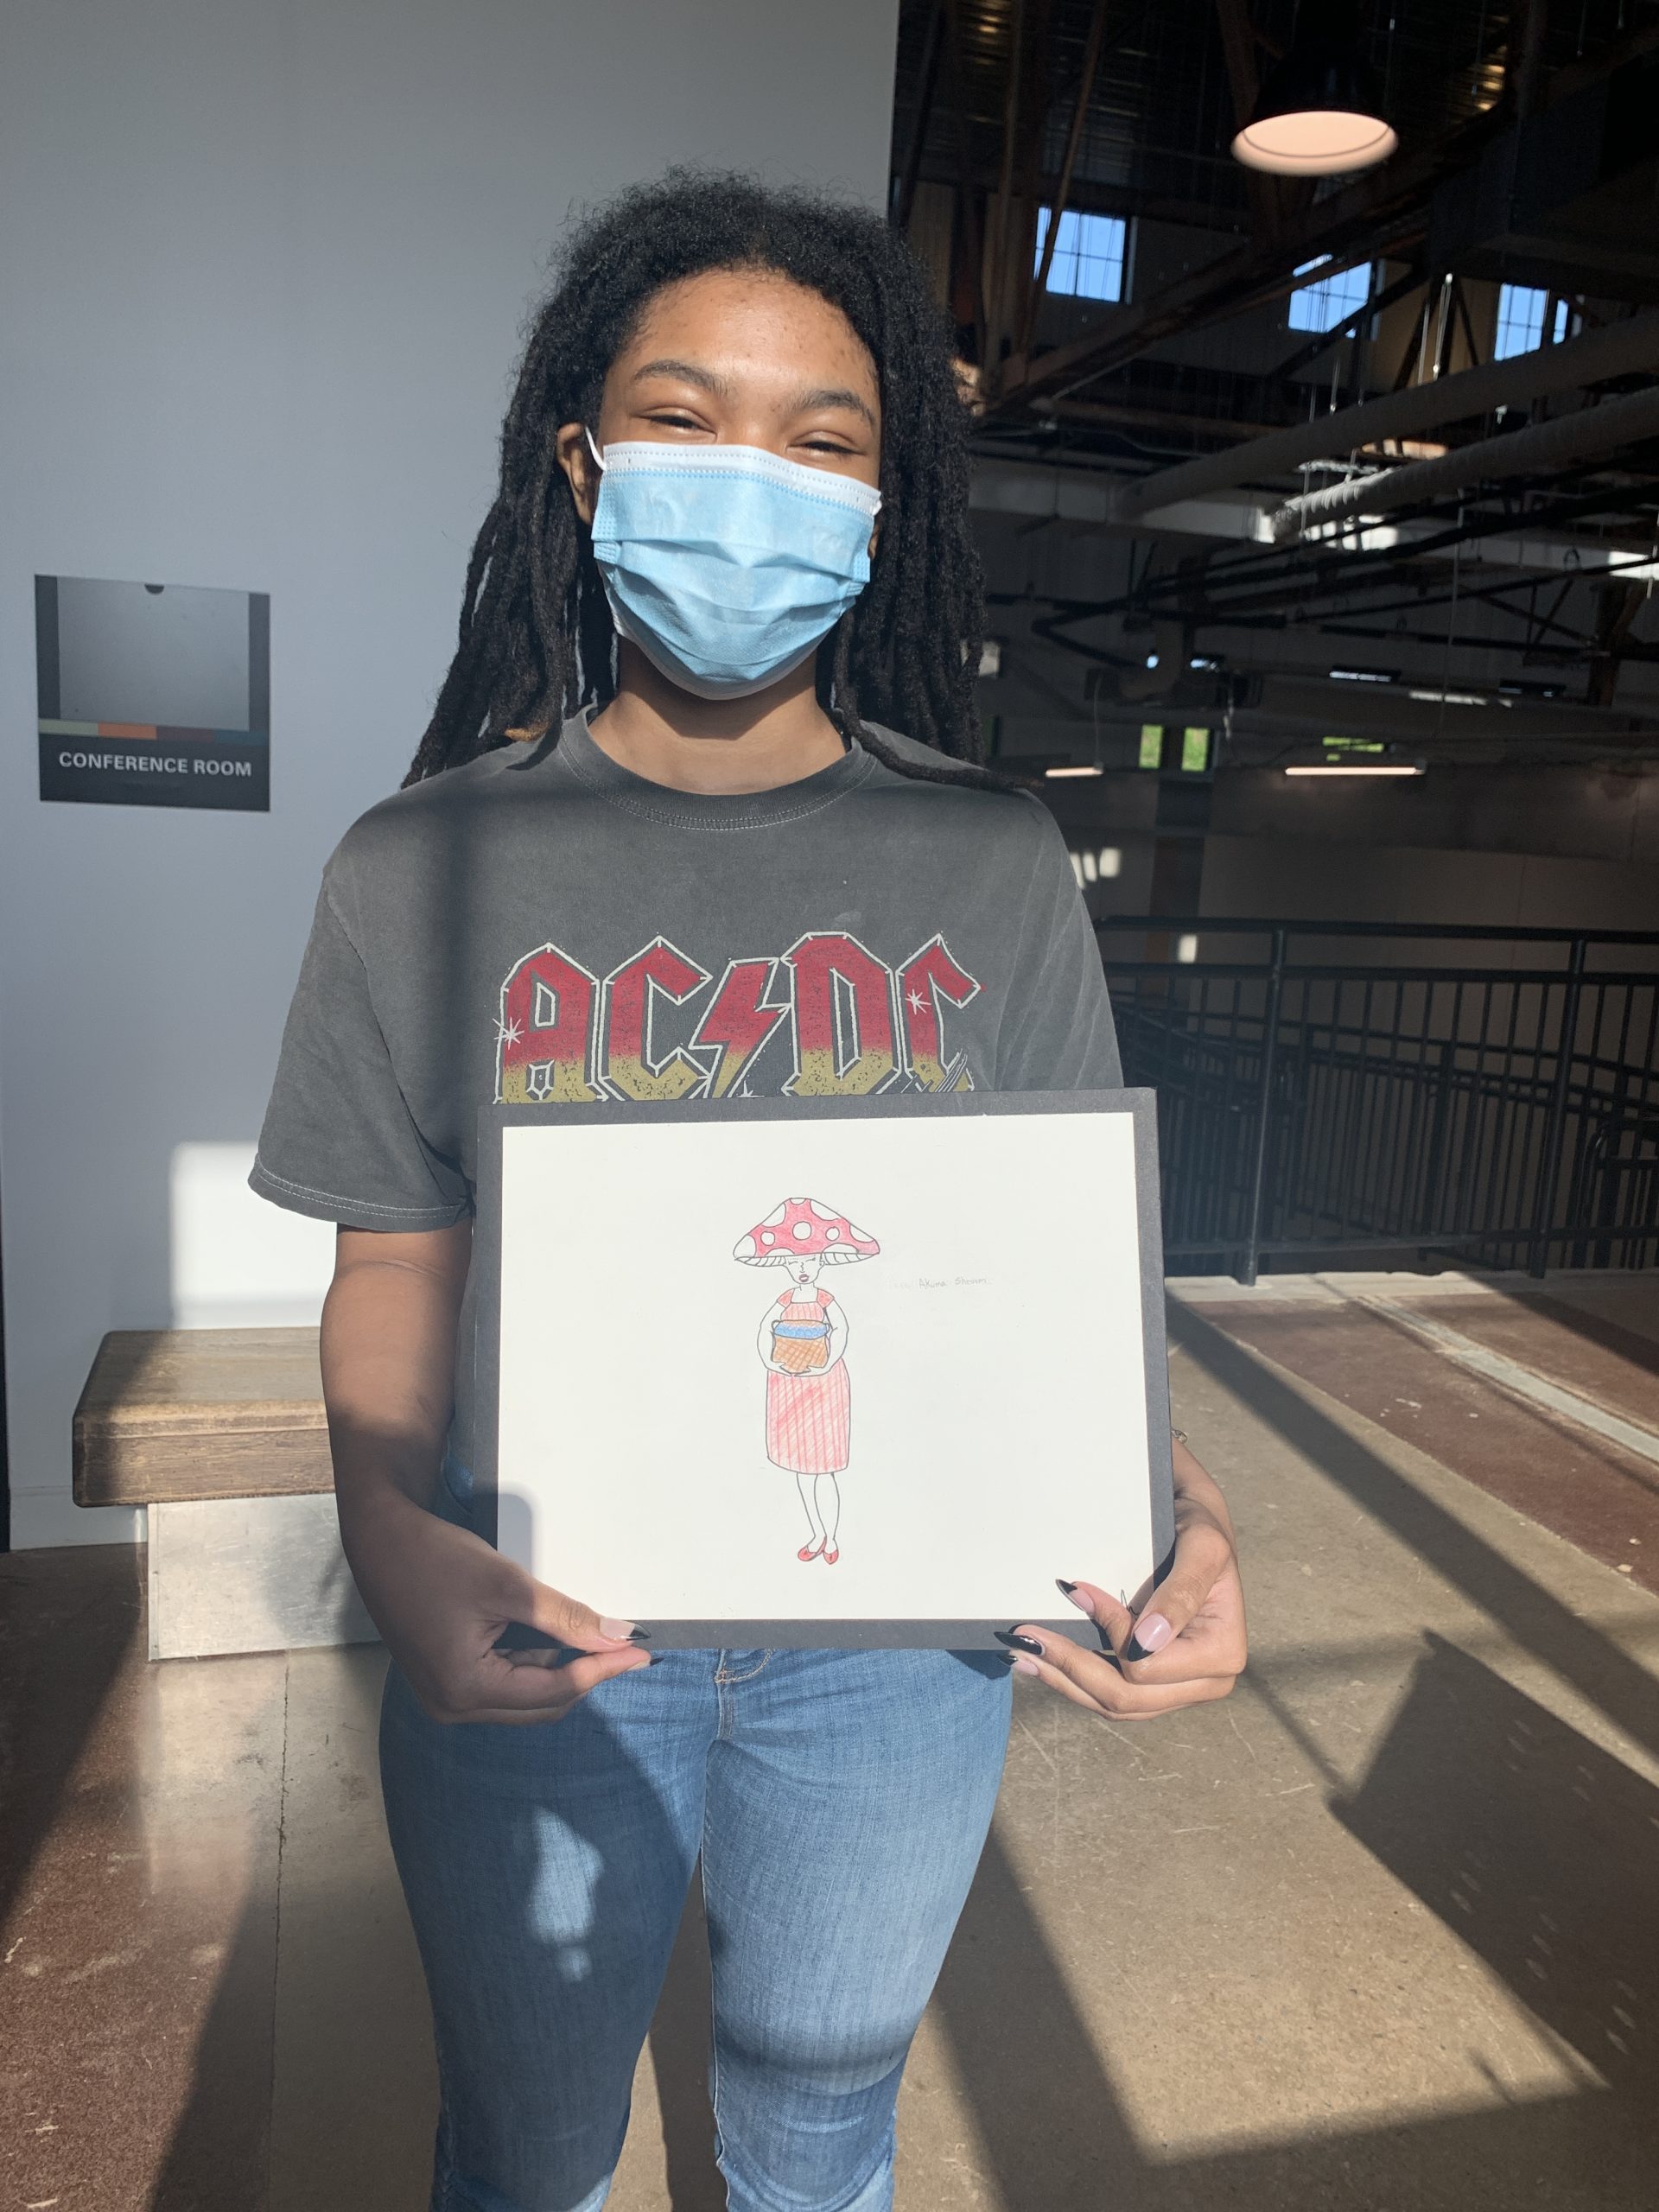
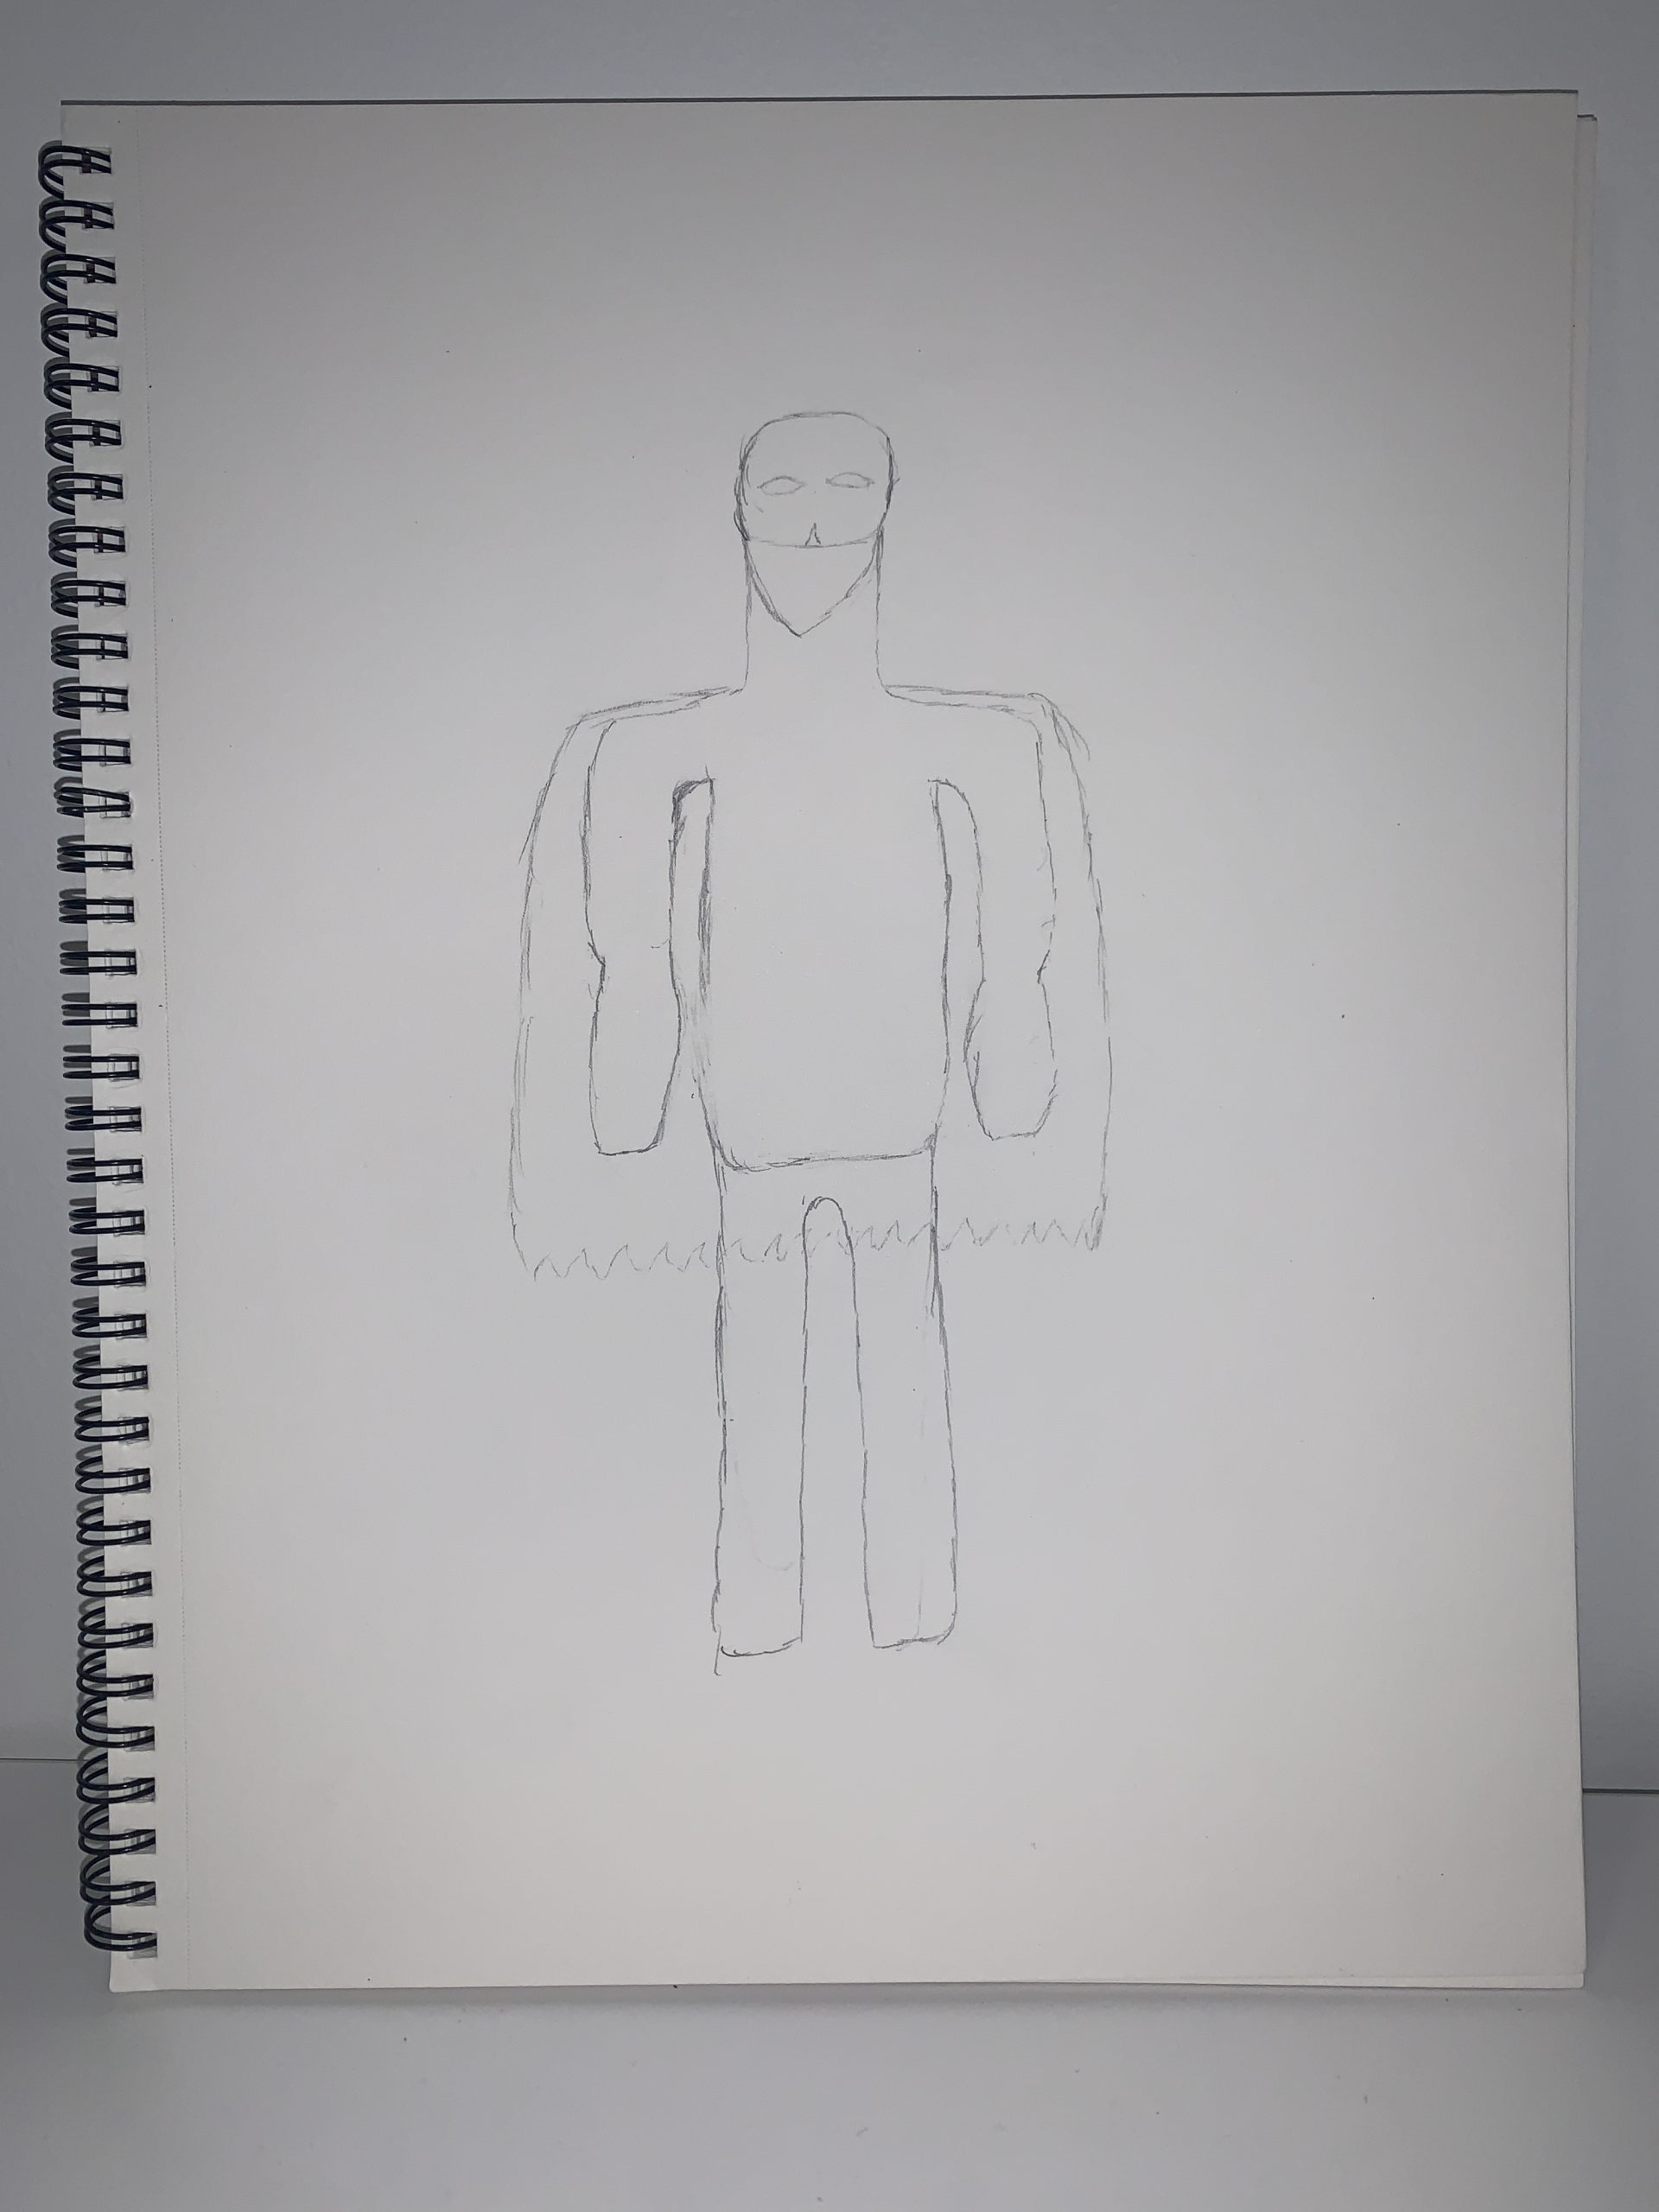
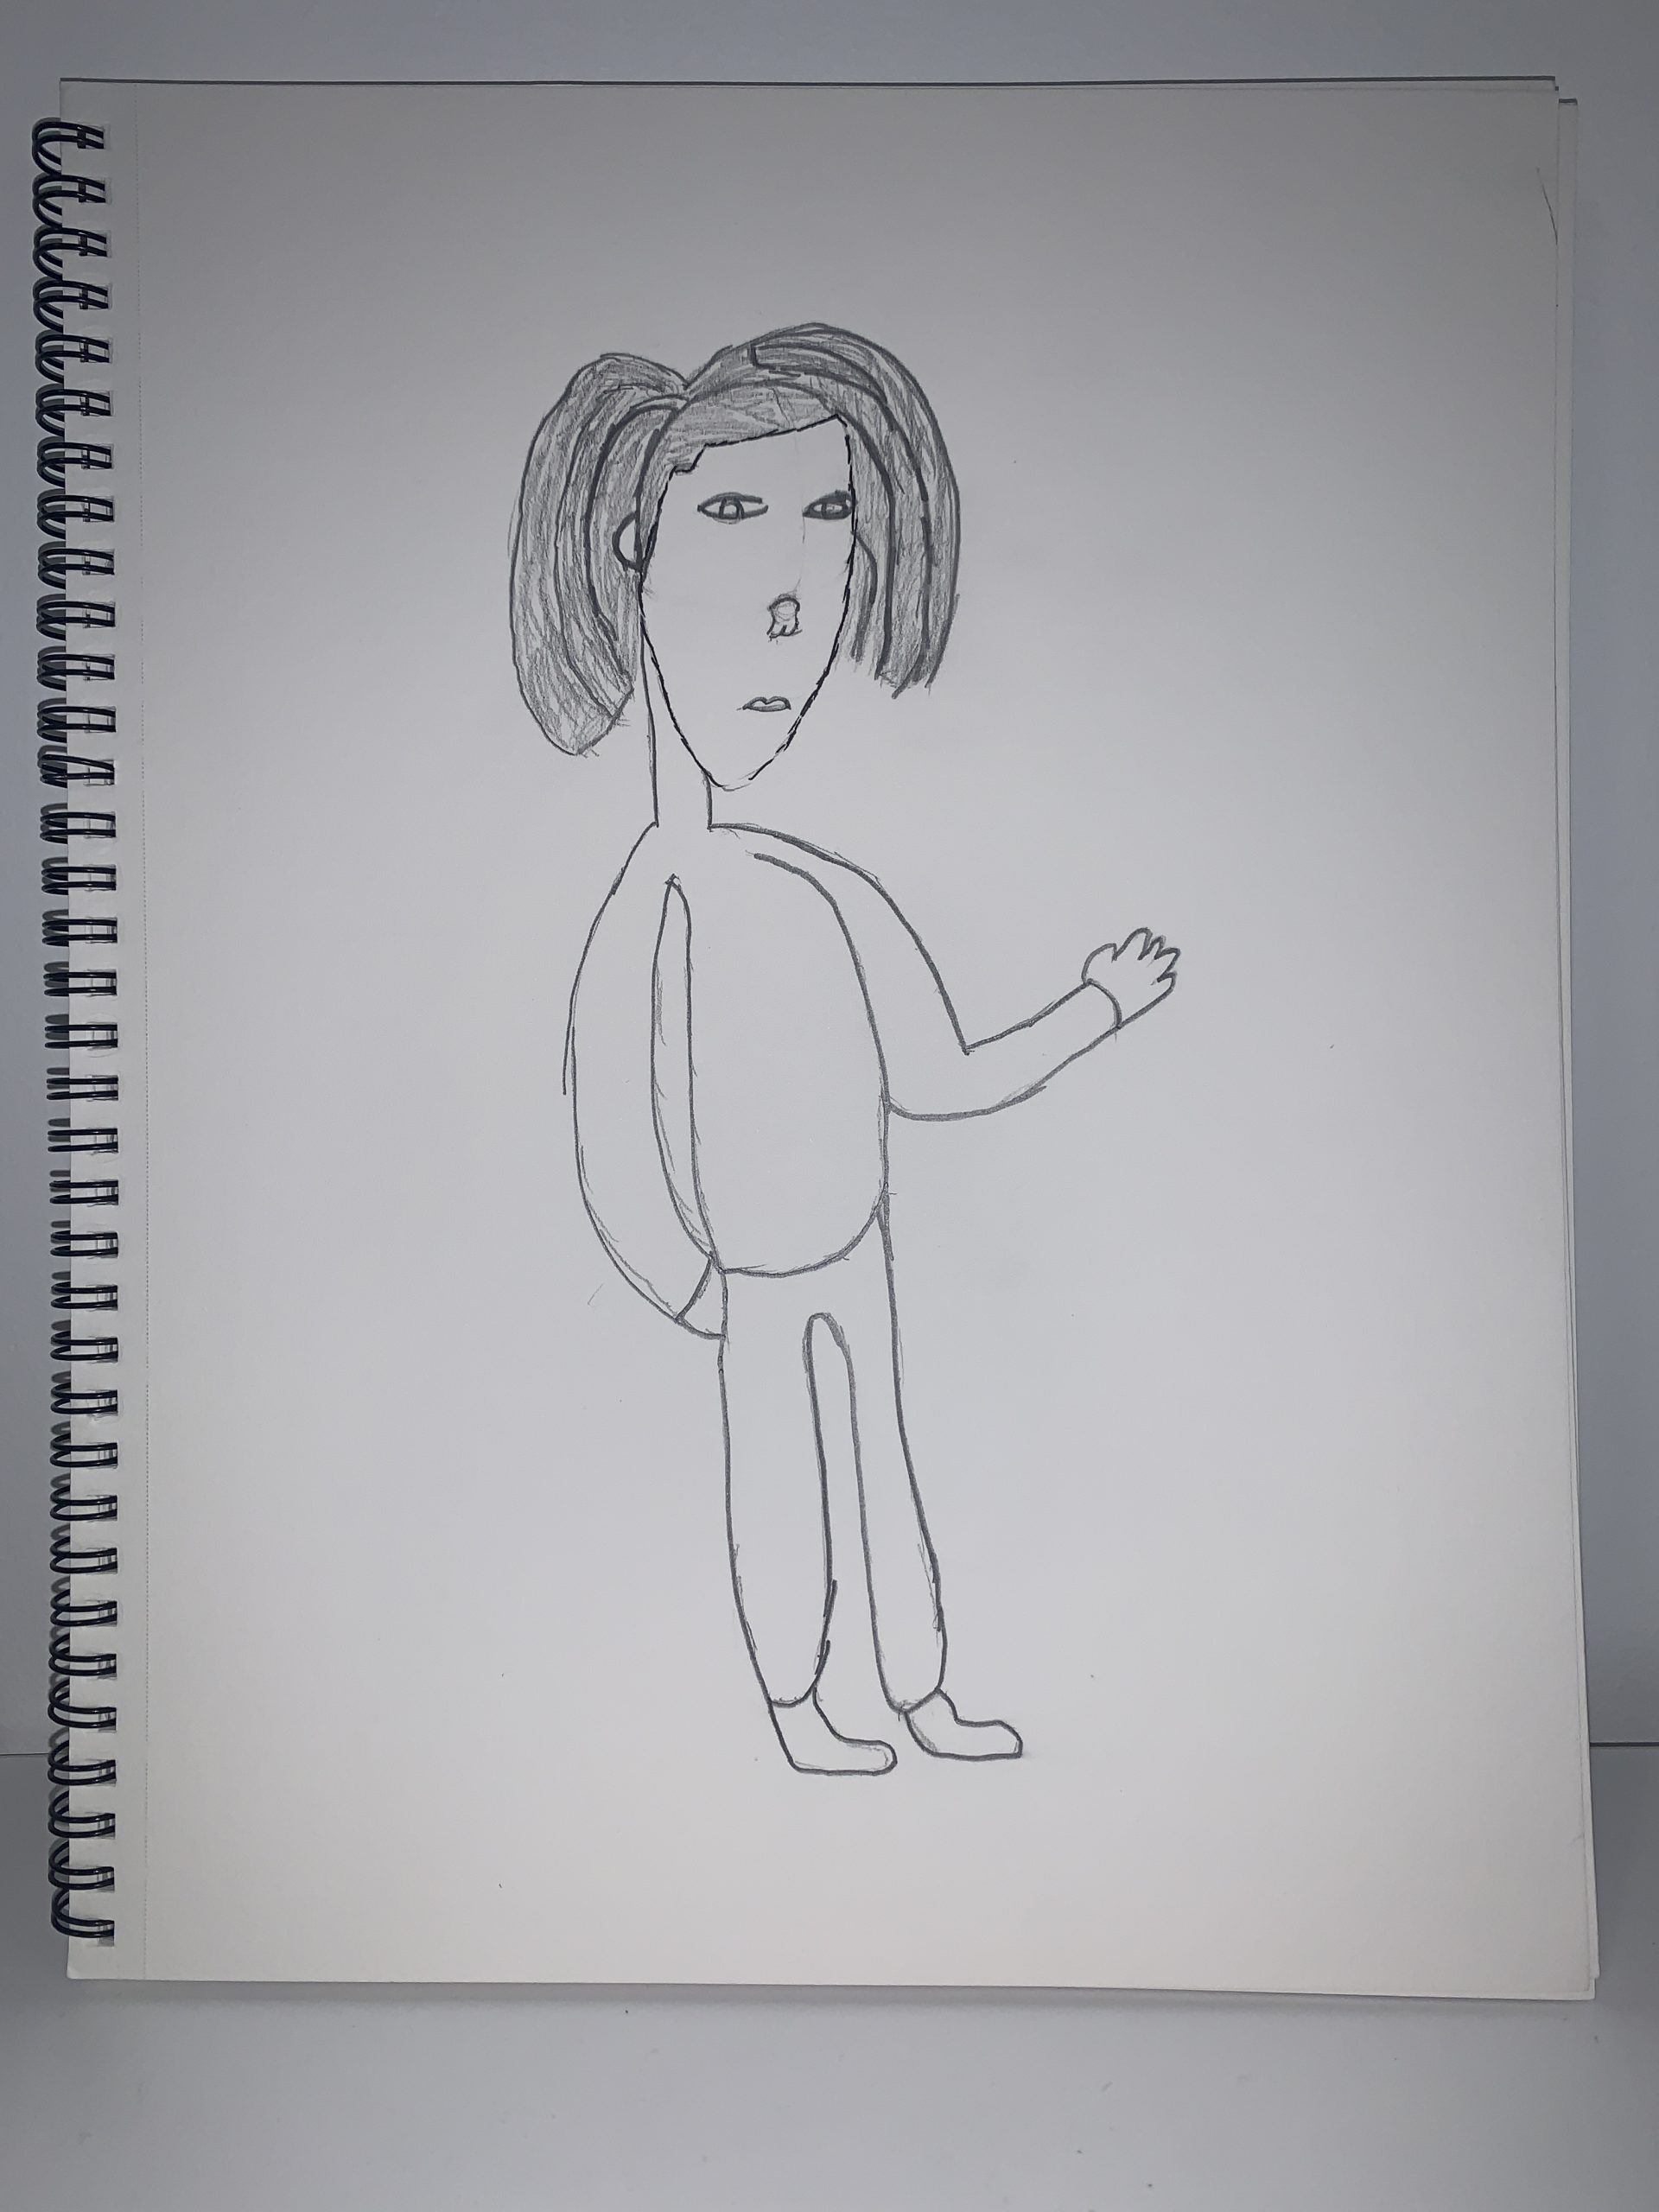
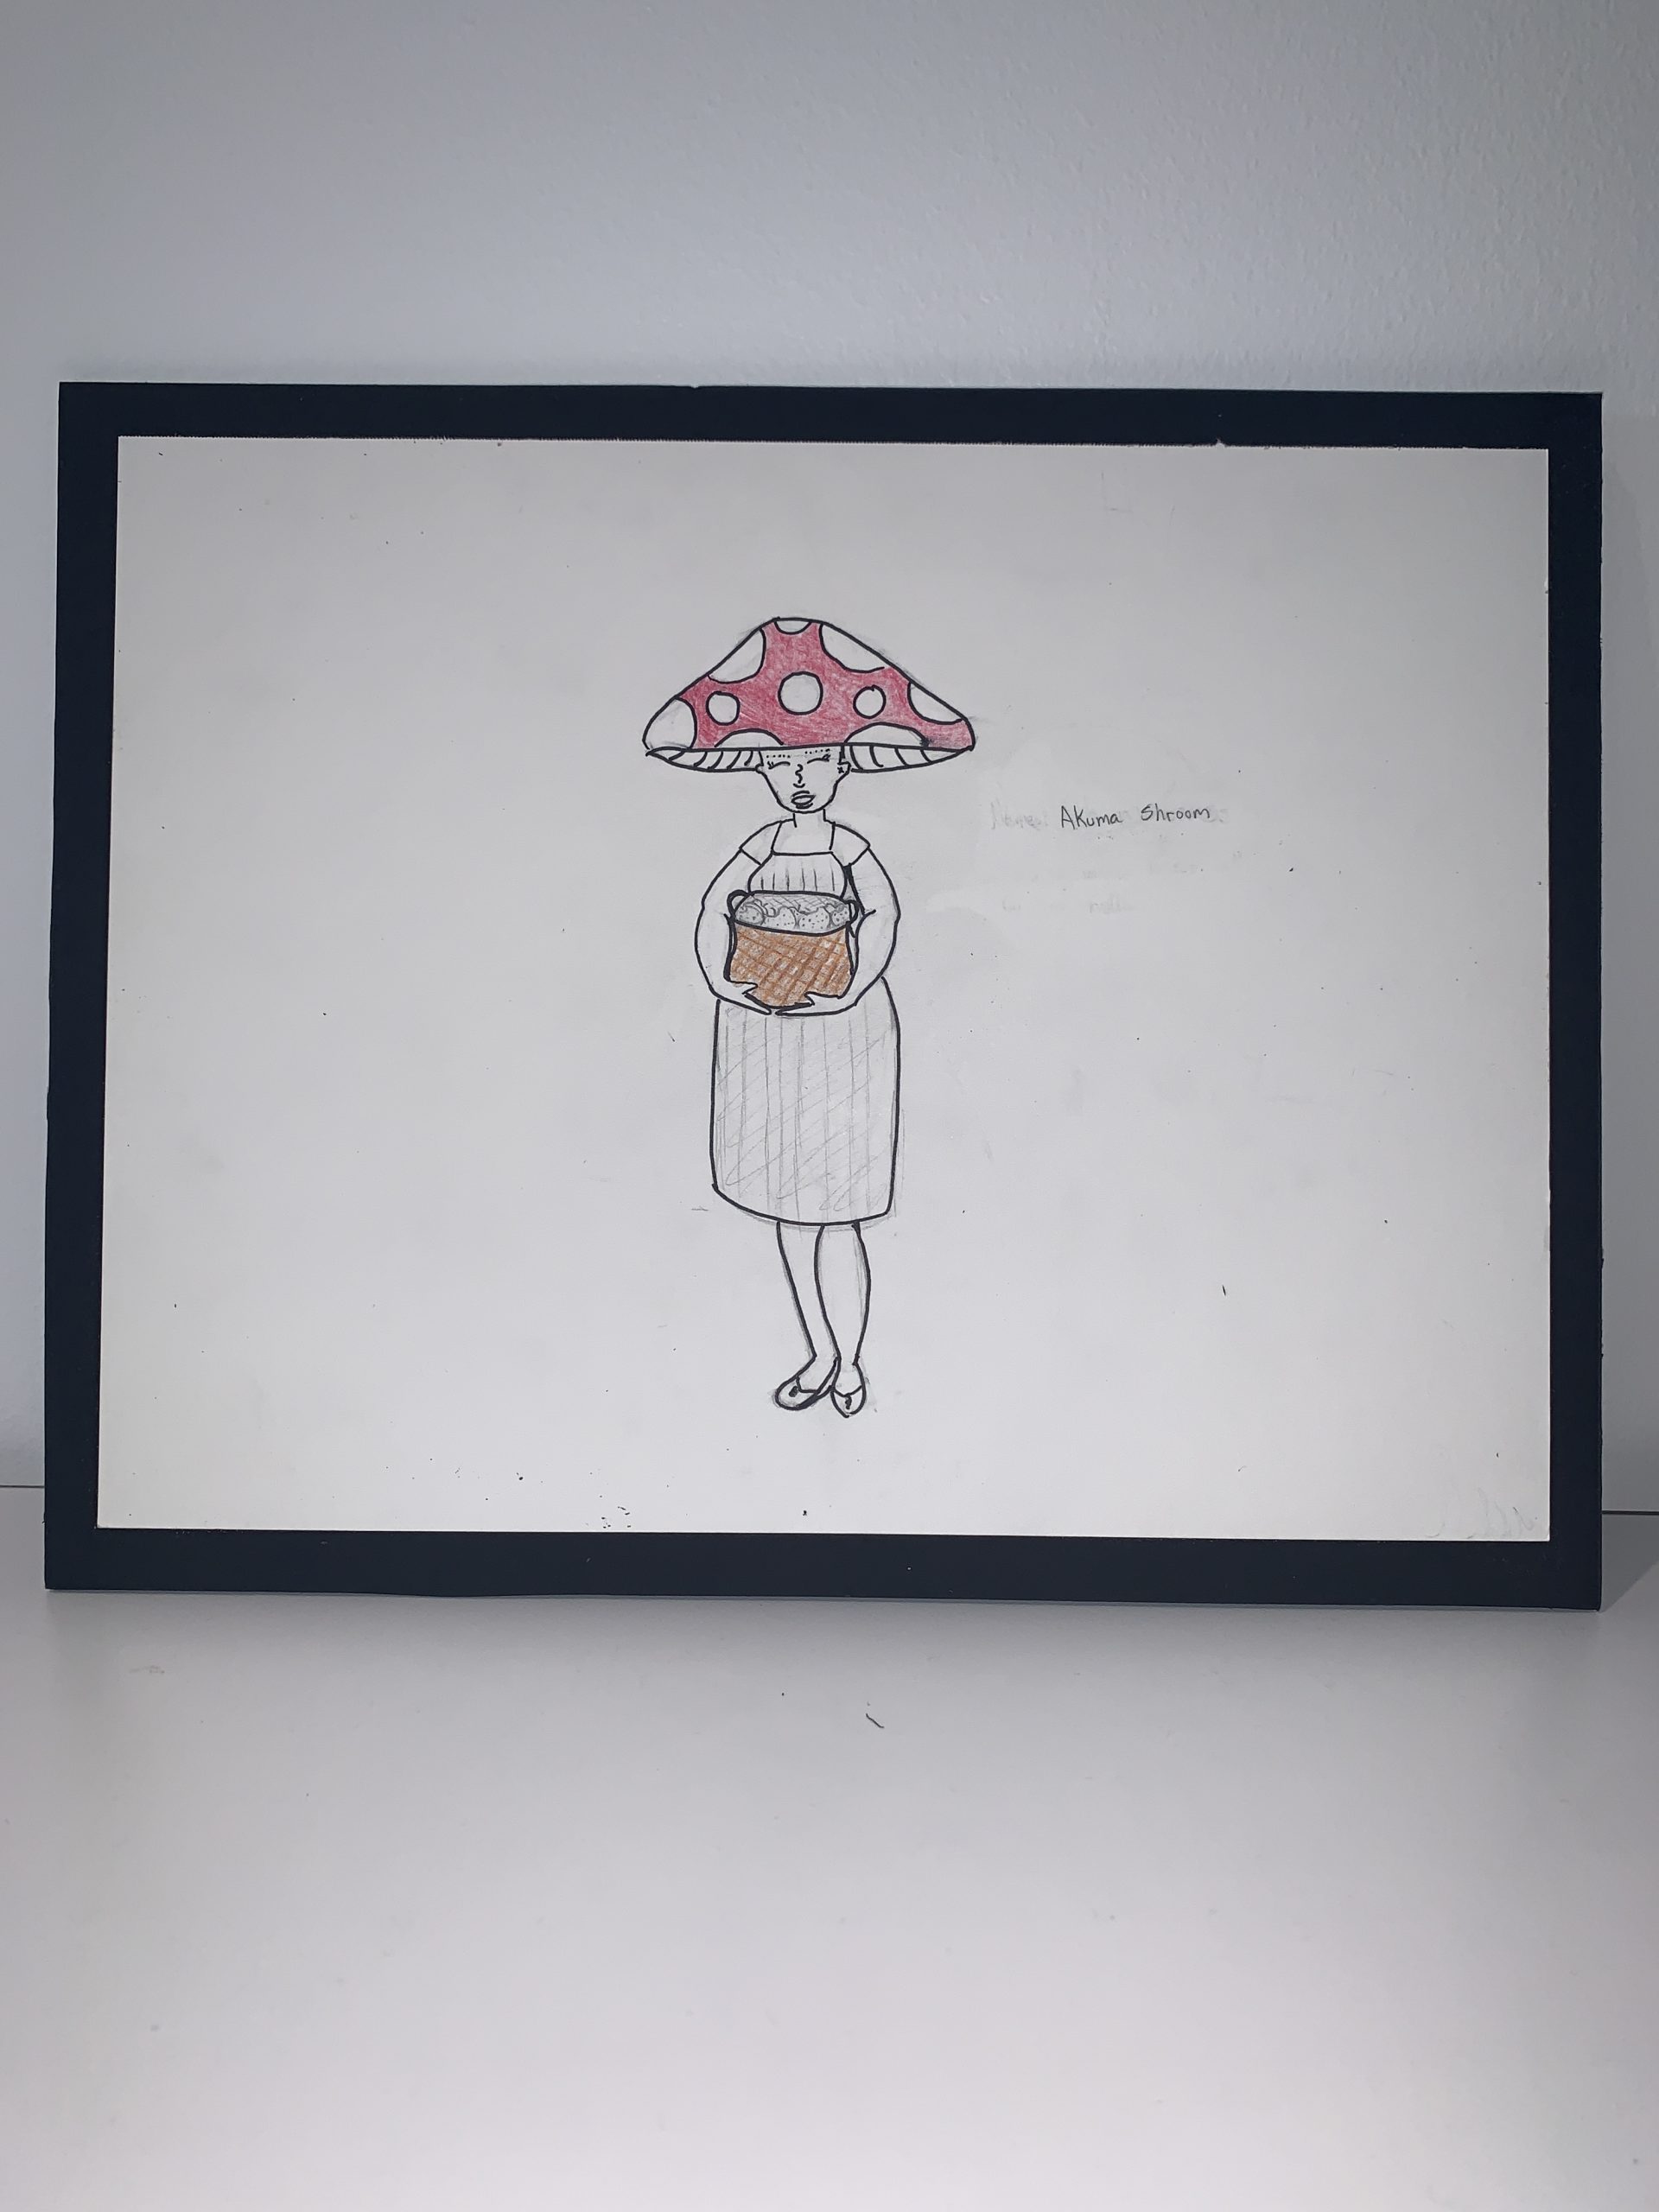
Just look at the before and after of their artwork!!! The kids were so proud of themselves.

Helpful Tips:
1. When you’re learning how to draw, the best thing to do is study anatomy. The biggest challenge students ran into was trying to figure out how to properly attach an arm to the rest of the body! Once we went over the muscles in the upper torso and how shoulders and the neck fit together, arms became much easier!
2. Reference, reference, reference! We always want to reference images as we draw. Don’t just try to imagine what “it” looks like, find an image to base the design on reality! Remember, we want our audience to believe whatever we’re drawing could really exist. If we’re drawing a person, we can look use the mirror and use ourselves as a reference. Can’t draw a hand? We have two of them!
3. Start with basic shapes. When we’re first learning how to draw, we want to start with the fine details (eyes or the face in general) When we start that way, we’re now forcing ourselves to draw the rest of the body to match the face we’ve just drawn. Work from large to small and from simple to more complex, this way we don’t commit to a design too soon. When drawing the characters’ head, start with a basic circle, put in guides for your facial features and then start adding small details.